Wilmington Radiant Barrier Installation
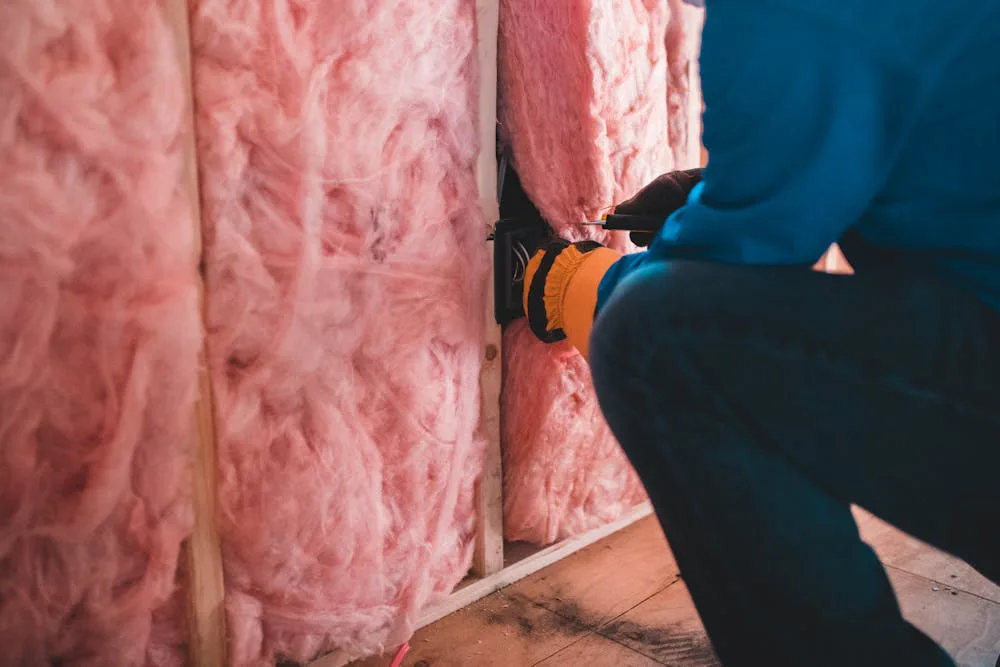
Sometimes the first indication of an attic heat problem happens before we even climb through the access. Pull down the stairs or lift the hatch on a sunny Wilmington afternoon, and you can feel the heat sitting above you. Once we’re inside, the roof decking, rafters, ductwork, insulation, wiring, and everything stored up there give us the layout we have to work with.
Radiant Barrier Installation is designed to reduce radiant heat transfer from the underside of the roof into the attic space. At Crawl Space Ninja, we inspect the attic, determine where the radiant barrier can be installed, work around the existing structure and mechanical components, and install the material in the appropriate location. If your Wilmington attic turns into a heat box whenever the sun comes out, contact us online to schedule an inspection.
Start With the Attic We Actually Have
Before installing anything, we need to get into the attic and look around. One Wilmington house may have an open attic where much of the roof structure is accessible, while another gives us a tight path around ductwork, wiring, equipment, storage, or framing. Those differences affect how the radiant barrier installation needs to proceed.
This can become especially noticeable in Wilmington’s older neighborhoods. Carolina Place developed largely during the early 1900s and contains numerous Craftsman bungalows and other period homes along streets such as Wolcott Avenue, Perry Avenue, Creecy Avenue, and Market Street. We don’t assume what’s inside an attic based on the neighborhood, but older houses can certainly give a technician a different workspace than newer construction.
That’s why the first part of the service is inspection rather than installation. We need to see the roof structure, existing insulation, ventilation openings, ducts, mechanical equipment, and how much room we actually have to move.

Find the Surfaces Where the Radiant Barrier Belongs
Radiant barriers work differently from traditional insulation. Instead of primarily slowing heat moving through a material, the reflective surface is used to reduce radiant heat transfer across an air space. That means placement matters, and simply rolling reflective material somewhere in the attic isn’t the same thing as properly installing a radiant barrier.
Once we’re inside, we look at how the roof is framed and where the barrier can be installed while maintaining the conditions it needs to function. We’re also checking the areas we’ll have to work around rather than covering something simply because it’s in our path.
Before installation, that can include:
- Roof framing: How are the rafters or trusses arranged?
- Attic access: Can we safely reach the areas where material needs to be installed?
- Ventilation: Where are the existing attic ventilation openings?
- Mechanical components: What ducts, equipment, wiring, or other features occupy the workspace?
- Existing insulation: What is already present on the attic floor?
This gives us an installation plan built around the house rather than a roll of material.
Wilmington Sun Hits More Than One Kind of Roof
Drive from Market Street through Carolina Place and out toward the Oleander Drive corridor, and Wilmington’s housing changes considerably. Older bungalows and period houses give way to later residential development, larger rooflines, additions, and different attic configurations. Sunset Park adds another mix, including Craftsman houses, Cape Cods, traditional homes, and later Ranch construction near Carolina Beach Road.
Those architectural differences matter when we’re physically working overhead. One attic may let us move relatively easily between framing members, while another has low roof sections where we’re working on our knees and ducking beneath braces. A complicated roofline can also divide the attic into areas that have to be approached separately.
The Wilmington sun doesn’t care whether the house is a Carolina Place bungalow or a newer home farther east. Our installation, however, has to fit the structure underneath that particular roof.
Installing the Radiant Barrier Around a Real Attic
Once we’ve inspected the space and planned the installation, we can begin working through the attic. This is the part homeowners don’t see when looking at a finished reflective surface. We’re moving around framing, staying clear of components that shouldn’t be covered, and fitting the material to the accessible portions of the structure.
A typical installation involves several practical steps:
- Prepare the work area: Identify accessible sections and anything requiring clearance.
- Position the material: Install the radiant barrier where it can perform as intended.
- Work around obstructions: Account for framing, wiring, ducts, and other attic components.
- Maintain ventilation: Avoid interfering with necessary attic airflow.
- Check completed sections: Make sure material remains properly positioned as work progresses.
It’s detailed overhead work. In tighter sections, that may mean crawling farther into the attic, turning sideways between framing, and installing a section before backing out to reposition.
Don’t Cover What the Attic Needs
One of the most important parts of Radiant Barrier Installation is knowing what not to cover. Attics aren’t empty boxes. Ventilation pathways, mechanical equipment, wiring, and other components may all share the same space where we’re working.
That’s why we don’t judge an installation only by how much reflective material we can see afterward. The barrier needs to be installed without unnecessarily interfering with the attic’s existing systems. We inspect as we move through the space rather than treating every open surface as somewhere material automatically belongs.
This matters whether we’re working closer to the Cape Fear River side of town or east toward Airlie Road and Wrightsville Sound. Airlie Gardens is one of the familiar landmarks on that eastern side of Wilmington, but houses only a few miles apart can still have very different rooflines and attic layouts. The installation has to follow the house, not a Wilmington map.
Look Back Before Closing the Attic
When we’ve worked our way through an attic, we like to look back across the completed area before packing up. From the access point, it’s easier to see how the individual sections come together and whether there are accessible areas that deserve another look. We can also verify that the installation hasn’t created obvious interference around the components we identified during the initial inspection.
This is also when the difference between the beginning and end of the service becomes easy to see. Earlier, we were following rafters with a flashlight, checking clearances, and figuring out how to reach awkward sections. Now the radiant barrier has been fitted around the attic we actually found.
The homeowner doesn’t need to crawl behind us to understand every fastening point. We can explain where the barrier was installed, what areas required special attention, and how the finished installation is intended to reduce radiant heat transfer into the attic.
Radiant Barrier Installation for Wilmington Homes
Wilmington homes can range from early bungalows around Carolina Place and Wrightsville Avenue to the varied housing around Sunset Park, Oleander Drive, College Road, and the neighborhoods extending toward the Intracoastal side of town. Radiant Barrier Installation needs to account for those differences because we’re physically fitting the material around the roof structure, ventilation, equipment, and access conditions of each attic.
Crawl Space Ninja handles the service from the initial attic inspection through installation and the final walkthrough. If opening your attic access feels like opening an oven on a sunny Wilmington afternoon, contact us online to schedule an inspection and find out whether a radiant barrier makes sense for your home.


Why Choose Our Services?
Crawl Space Ninja Eliminates the Guesswork.

Every decision we make on your job starts with one question: what's actually best for your home and your family.

We stand behind every job with our lifetime warranty, because giving you lasting protection and confidence in your investment.

Our technicians are trained and certified on the system we built and refined ourselves, not a one-size-fits-all fix.

From your first call to the final walkthrough, you’ll stay updated through every step of the process.

Consult, customize, commence. Every job starts with a plan built for your home, not a generic fix.

You'll know the full cost before work begins. No hidden fees, no surprises.