Crawl Space Repair in Greenville, SC: What the Dry Days Don’t Erase
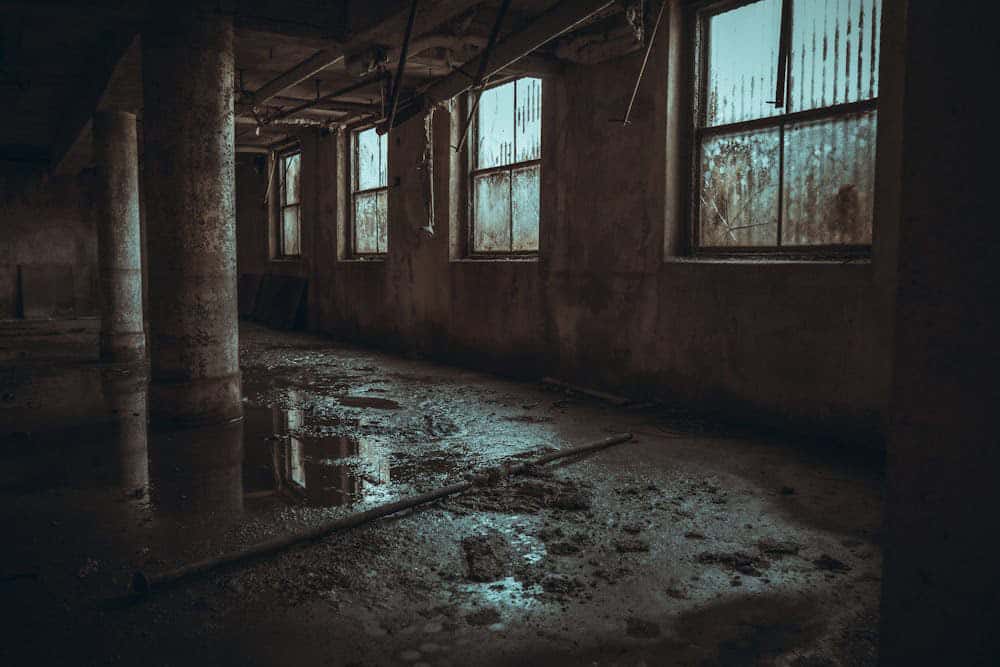
A crawl space doesn’t have to be wet when we arrive for water to have been there. We may crawl across dry soil and reach a pier with mud hardened around its base. Farther over, there’s a faint line across the foundation wall. The plastic on the ground isn’t wet anymore, but dried dirt is sitting on top of it.
Those details matter. At Crawl Space Ninja, we’re interested in what happened beneath your Greenville home before we opened the access. If you’ve noticed musty odors, fallen insulation, visible growth, damp soil, or other signs of moisture, contact us online to schedule a crawl space inspection.
Greenville Homes After the Rain Moves On
A bungalow near East North Street in Overbrook and an older house off Pinckney Street don’t give us identical crawl spaces simply because both have been standing for generations. Overbrook grew during Greenville’s early trolley expansion, while much of Hampton-Pinckney’s housing dates from roughly 1890 to 1930. The Earle Street area gives us another collection of early-20th-century homes.
Underneath these established Greenville houses, original construction may be only part of what we’re crawling around. Plumbing gets replaced. HVAC systems change. Electricians run new wiring. Insulation gets added or disturbed. Homeowners make additions and previous attempts at moisture control may remain on the ground.
We aren’t trying to determine which decade every pipe or piece of plastic came from. We’re trying to understand what’s happening underneath the house now.
Crawl Space Waterproofing: Where Did the Water Go?
Standing water is easy to recognize. A dry crawl space after a storm makes us work a little harder.
We might start across apparently dry soil before reaching a pier with dried mud around its base. A few feet farther, there’s discoloration on the block. Nearby plastic has dirt dried across the top instead of underneath it.
Now we have a trail. Evidence from previous water can include:
- Mud around piers: Water reached this area even though it’s dry today.
- Lines on masonry: Staining can show where moisture has been.
- Darker soil: One section hasn’t dried as completely as another.
- Collected debris: Dirt or leaves settled where water previously traveled.
- Residue on plastic: A vapor barrier can preserve evidence after water recedes.
That’s when we come back out from under the house and inspect the corresponding exterior. Greenville is shaped by waterways such as the Reedy River, but we don’t diagnose a house from its location on a map. Crawl Space Waterproofing means figuring out how water is reaching that particular crawl space and addressing its path.
Mold Removal: How Long Did the Wood Stay Damp?
The rain may tell us when moisture arrived. Mold raises another question: how long did conditions remain favorable for growth?
Crawl Space Mold Removal requires getting a clear look at affected materials. That may mean working around plumbing and ductwork or dealing with fiberglass that’s hanging between us and the framing. Soda Blasting may be appropriate for cleaning contaminated wood surfaces when the situation calls for it.
Beneath an established home around Hampton Avenue or Pinckney Street, there may be plenty of old materials around us. Age alone isn’t what we’re trying to correct. We’re interested in affected wood and the moisture conditions surrounding it today.
Cleaning deals with what’s on the surface. Moisture control helps address the environment that allowed the problem to develop.
Water Leaves Tracks. Humidity Doesn’t.
A puddle can leave mud. Moving water can leave a stain. Humidity is quieter.
There may be no obvious line to follow. Instead, the air beneath the house feels heavy. Fiberglass feels clammy when we brush against it. Cooler surfaces may collect condensation, or framing may stay damp longer than it should.
Crawl Space Humidity Control deals with that moisture in the air. Dehumidification can be used when active moisture removal is needed, and a Vent Fan may be incorporated where appropriate.
By Thursday afternoon, Tuesday’s rain may be gone. The moisture introduced beneath the house may not be.
That’s why removing standing water and controlling humidity aren’t interchangeable jobs. One addresses water that’s getting into the crawl space. The other helps manage the environment after that water is gone.
Crawl Space Insulation: What Held Onto the Moisture?
Fiberglass can preserve another part of the story.
We may brush against insulation that feels damp along its lower edge while the material closer to the floor appears dry. Another section may be stained, compressed, or sagging between the joists. Sometimes we’re crawling over fiberglass that has fallen completely onto the soil.
Crawl Space Insulation can’t be separated from what’s happening around it. Putting damp material back between the joists doesn’t address the reason it became damp.
An Overbrook bungalow may have had generations of plumbers, electricians, HVAC technicians, and insulation installers working underneath it since the neighborhood’s early development. We don’t assume every material beneath the floor was installed at the same time. We inspect what is there now and how it’s performing.
Encapsulation: What Happens Before the Next Rain?
An old sheet of plastic doesn’t necessarily create a controlled crawl space. It may stop several feet short of the foundation, have openings around piers, or expose large areas of soil.
Crawl Space Encapsulation gives us something patchwork plastic can’t: a defined boundary between the crawl space and the ground beneath it.
A complete moisture-control approach can include:
- Ground vapor barrier
- Air sealing
- Crawl Space Humidity Control
- Dehumidification when needed
- A Vent Fan where appropriate
The purpose isn’t simply to make the ground look cleaner. We’re creating an environment that can be managed more consistently through Greenville’s changing weather.
That applies whether we’re navigating the floor system beneath an Earle Street home or working in another part of Greenville with a completely different crawl-space layout.
Crawl Space Repair Puts the Evidence Together
By this point, we’re no longer looking at isolated symptoms. The mud around a pier relates to water movement. Staining on wood raises questions about moisture exposure. Clammy fiberglass tells us something about conditions overhead. Exposed soil and uncontrolled air affect the environment surrounding all of it.
Crawl Space Repair means putting those observations together before determining what the house needs. One home may need waterproofing. Another may require mold remediation and humidity control. In some crawl spaces, encapsulation, insulation work, or several services may need to function together. The answer comes from the house, not from a predetermined package.
Crawl Space Repair for Greenville Homes
You don’t have to catch your crawl space with water standing in it. Sometimes the evidence is still there after the sun comes back out.
From Overbrook and Hampton-Pinckney to the established homes around Earle Street and elsewhere in Greenville, every crawl space deserves an inspection based on what’s actually happening underneath it.
If you’ve found musty odors, fallen insulation, staining, mold, damp soil, or other signs of moisture beneath your Greenville home, contact Crawl Space Ninja online to schedule an inspection. We’ll crawl in and find out what the dry days haven’t erased.


Why Choose Our Services?
Crawl Space Ninja Eliminates the Guesswork.

Every decision we make on your job starts with one question: what's actually best for your home and your family.

We stand behind every job with our lifetime warranty, because giving you lasting protection and confidence in your investment.

Our technicians are trained and certified on the system we built and refined ourselves, not a one-size-fits-all fix.

From your first call to the final walkthrough, you’ll stay updated through every step of the process.

Consult, customize, commence. Every job starts with a plan built for your home, not a generic fix.

You'll know the full cost before work begins. No hidden fees, no surprises.
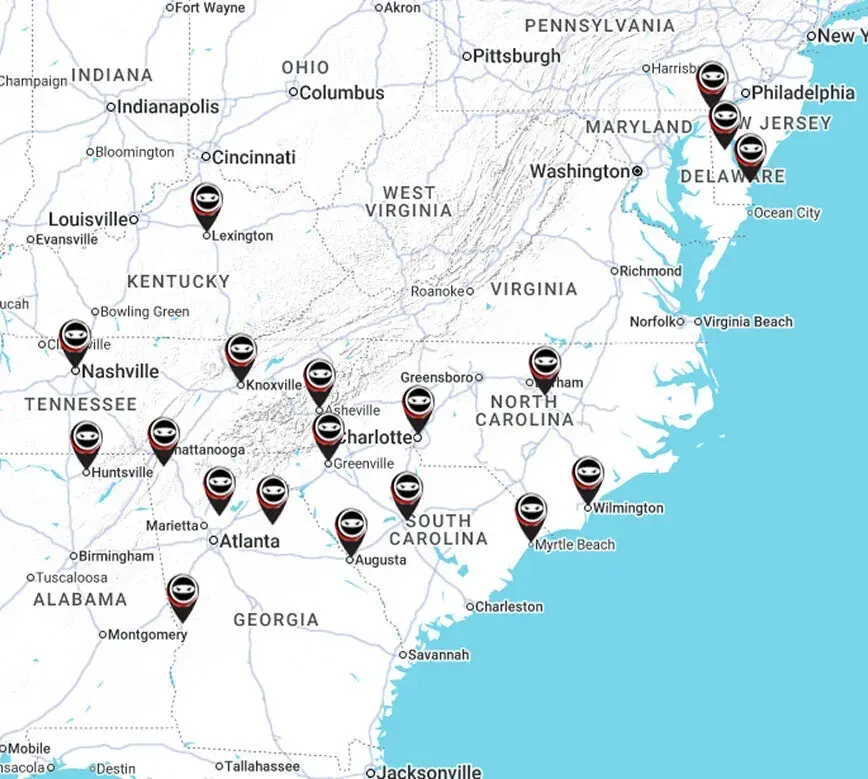
Find Your Closest Crawl Space Ninja!